|
|
| 行 1: |
行 1: |
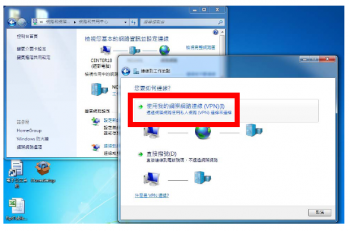
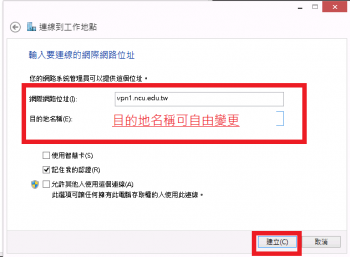
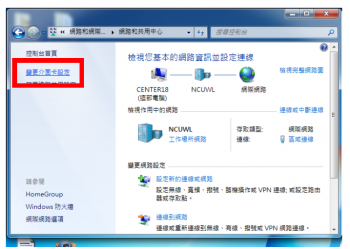
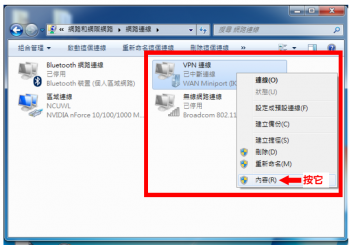
| − | 1.請下載憑證及安裝憑證<br> | + | 1.設定VPN連線 <br> |
| − | {|cellspacing="0" border="1"
| |
| − | |-valign="top"
| |
| − | |rowspan=2|操作說明...
| |
| − | |1.下載網址 https://letsencrypt.org/certificates ,請注意<br>
| |
| − | *<big>'''Active'''</big>
| |
| − | *<big>'''X3'''</big>
| |
| − | *點選[pem]下載<br>[[File:Android_vpn21.jpg|200px]]
| |
| − | |2.執行mmc <br>
| |
| − | *選擇「檔案」->「新增/移除嵌入式管理單元」<br>[[File:Win7_mmc1.PNG|350px]]
| |
| − | *選擇「憑證」->再按「新增」<br>[[File:Win7_mmc2.PNG|350px]]
| |
| − | |3.<br>
| |
| − | *選擇「電腦帳戶」<br>[[File:Win7_mmc3.PNG|350px]]
| |
| − | *選擇「本機電腦」->再按「完成」<br>[[File:Win7_mmc4.PNG|350px]]
| |
| − | *回到新增或移除嵌入式管理單元,點選「確定」按鈕
| |
| − | |-valign="top"
| |
| − | |4.回到主控台<br>
| |
| − | *點選憑證->個人,按右鍵->選擇「所有工作」->「匯入」<br>[[File:Win7_mmc6.PNG|350px]]
| |
| − | *出現憑證匯入精靈,點選「下一步」<br>[[File:Win7_mmc7.PNG|350px]]
| |
| − | |5.<br>
| |
| − | *選擇「瀏覽]<br>[[File:Win7_mmc8.PNG|350px]]
| |
| − | *檔案類別選擇「所有檔案」,將下載的X3中繼憑證開啟<br>[[File:Win7_mmc9.PNG|350px]]
| |
| − | |6.<br>
| |
| − | *憑證存放區,放在個人。點選「下一步」<br>[[File:Win7_mmc10.PNG|350px]]
| |
| − | *點選「完成]按鈕,完成憑證匯入精靈
| |
| − | *主控台個人憑證,出現Let's Encrypt X3中繼憑證<br>[[File:Win7_mmc12.PNG|350px]]
| |
| − | |}
| |
| − | 2.設定VPN連線 <br>
| |
| | {|cellspacing="0" border="1" | | {|cellspacing="0" border="1" |
| | |-valign="top" | | |-valign="top" |
| 行 45: |
行 18: |
| | |colspan=2| | | |colspan=2| |
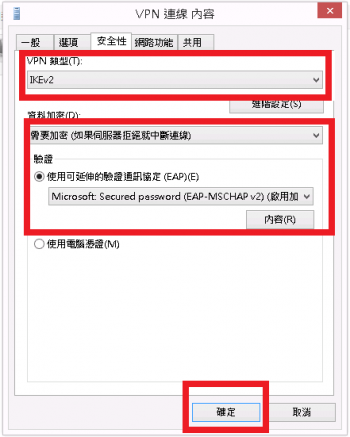
| | 9.在「安全性」標籤下,依下方指示設定。<br>[[File:Win8_vpn11.PNG|350px]]<br> | | 9.在「安全性」標籤下,依下方指示設定。<br>[[File:Win8_vpn11.PNG|350px]]<br> |
| − |
| |
| − |
| |
| | |} | | |} |
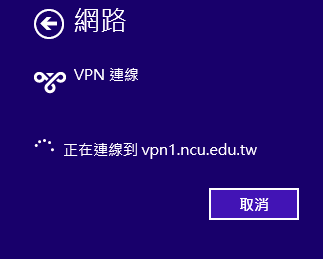
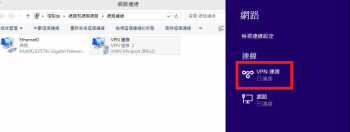
| − | 3.連線測試
| + | 2.連線測試 |
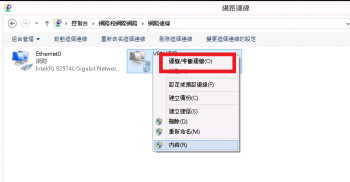
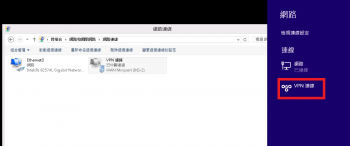
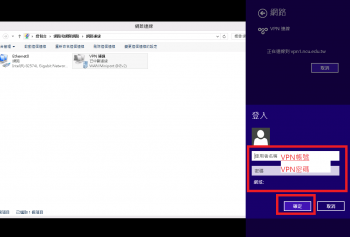
| | {|cellspacing="0" border="1" | | {|cellspacing="0" border="1" |
| | |-valign="top" | | |-valign="top" |
